1
2
3
4
5
6
7
8
9
10
11
12
13
14
15
16
17
18
19
20
21
22
23
24
25
26
27
28
29
30
31
32
33
34
35
36
37
38
39
40
41
42
43
44
45
46
47
48
49
50
51
52
53
54
55
56
57
58
59
60
61
62
63
64
65
66
67
68
69
70
71
72
73
74
75
76
77
78
79
80
81
82
83
84
85
86
87
88
89
90
91
92
93
94
95
96
97
98
99
100
101
102
103
104
105
106
107
108
109
110
111
112
113
114
115
116
117
118
119
120
121
122
123
124
125
126
127
| <!DOCTYPE html>
<html>
<head>
<meta charset="UTF-8">
<title></title>
<style type="text/css">
*{
margin: 0;
padding: 0;
}
html, body{
width: 100%;
height: 3000px;
}
#small{
width: 300px;
height: 300px;
border: 5px solid gold;
position: relative;
float: left;
margin: 100px;
}
#small img{
width: 300px;
}
#zoom{
width: 100px;
height: 100px;
background-color: rgba(0,0,0,0.5);
position: absolute;
left: 0;
top:0;
display: none;
}
#big{
width: 300px;
height: 300px;
float: left;
margin: 100px;
border: #FFD700 4px solid;
overflow: hidden;
display: none;
}
#big img{
width: 900px;
}
</style>
</head>
<body>
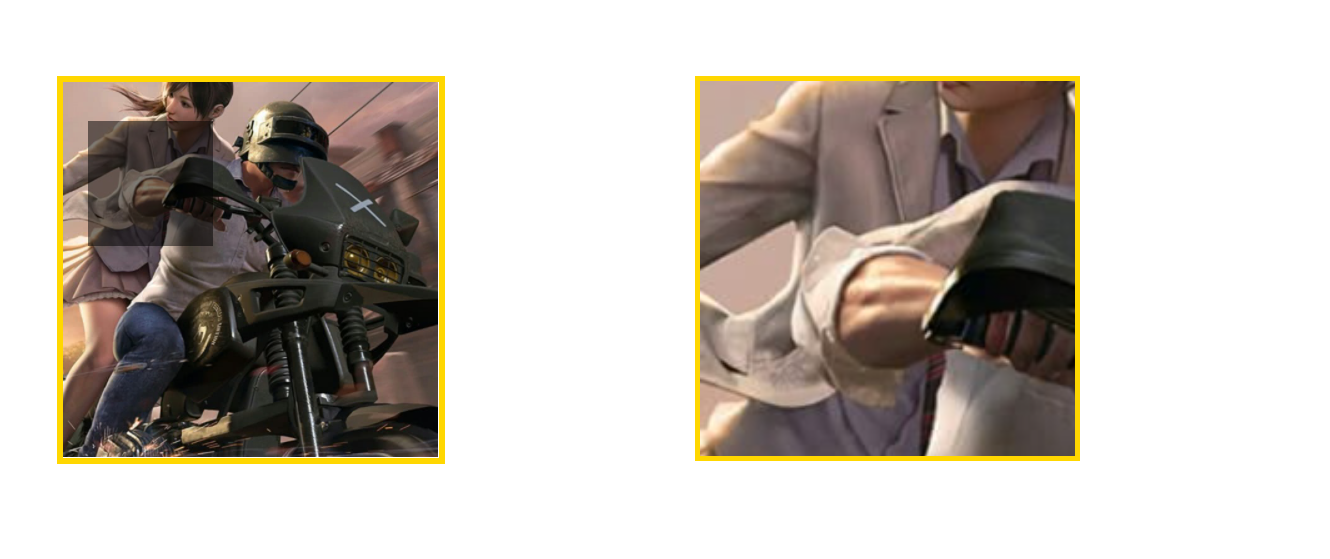
<div id="small">
<img src="img/600.jpg"/>
<div id="zoom"></div>
</div>
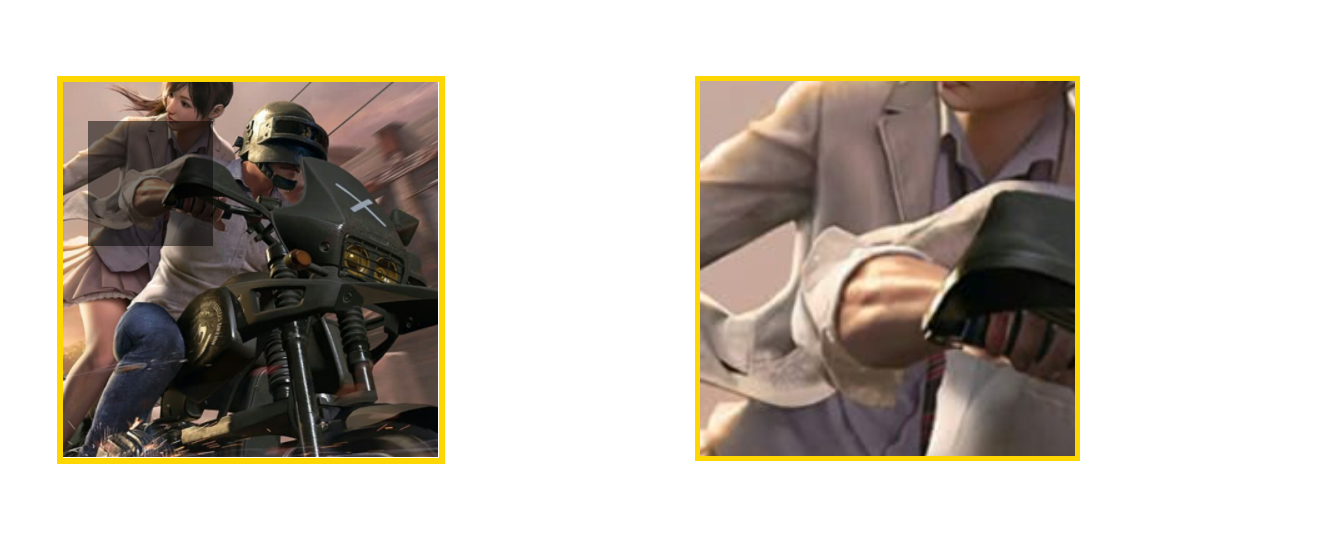
<div id="big">
<img src="img/600.jpg"/>
</div>
</body>
</html>
<script type="text/javascript">
small.onmouseenter = function(){
zoom.style.display = "block";
big.style.display = "block";
}
small.onmouseleave = function(){
zoom.style.display = "none";
}
small.onmousemove = function(){
var l = event.pageX - this.offsetLeft - this.clientLeft - zoom.offsetWidth / 2;
var t = event.pageY - this.offsetTop - this.clientTop - zoom.offsetHeight / 2;
if(l <= 0){
l = 0;
}
if(l >= small.clientWidth - zoom.offsetWidth){
l = small.clientWidth - zoom.offsetWidth;
}
if(t <= 0){
t = 0;
}
if(t >= small.clientHeight - zoom.offsetHeight){
t = small.clientHeight - zoom.offsetHeight;
}
zoom.style.left = l + "px";
zoom.style.top = t + "px";
big.scrollLeft = l * 3;
big.scrollTop = t * 3;
}
</script>
|


